SOP-42Q-MES0150 QCP Configuration Portlet
42Q Home > Shop Floor Control > Configuration > QCP Configuration Portlet
Contents
Introduction
The QCP Configuration Portlet provides users with administrators’ profiles, and the ability to create checklists with pre-configured questions for specific stations.
Note: QCP stands for Quality Control Process
To access the QCP Configuration Portlet, from the 42-Q portal, navigate to: Shop Floor Control >Configuration Control>QCP Configuration.
QCP Configuration
At the top of the QCP Configuration landing page, the header displays the following menu: SFDC ID List, QCP List, and New QCP.
Figure 1: QCP Menu
Client ID List
In the Client ID List section, administrators using QCP for the first time must select a Client ID to see or enter the configuration and create aNew QCP.
Note: This configuration will be saved and it won’t be necessary to do it on the next login.
Import /Export
These two features let users quickly import or export any previously configured QCP. This can significantly speed up the process, especially when dealing with lengthy questionnaires.
Figure 2: Import/ Export
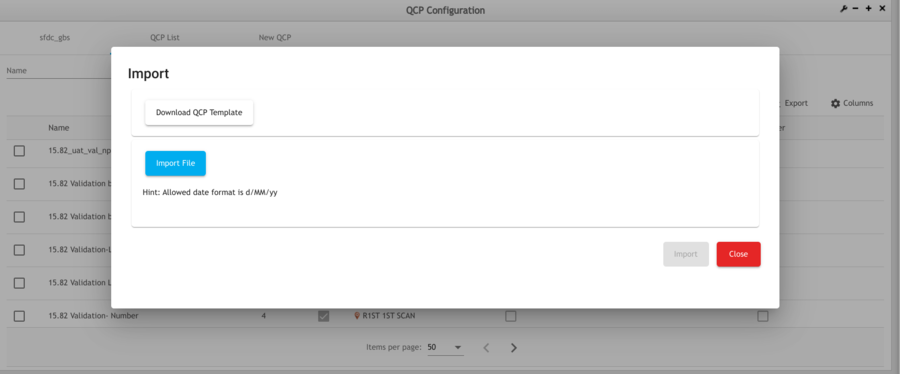
The Import section offers two options:
- Download a QCP Template: This allows you to download a blank QCP template to fill out.
- Import an Existing Document: This option lets you import a QCP document that has already been created.
Figure 3: Import Options
To export, select the QCP from the list and click export.
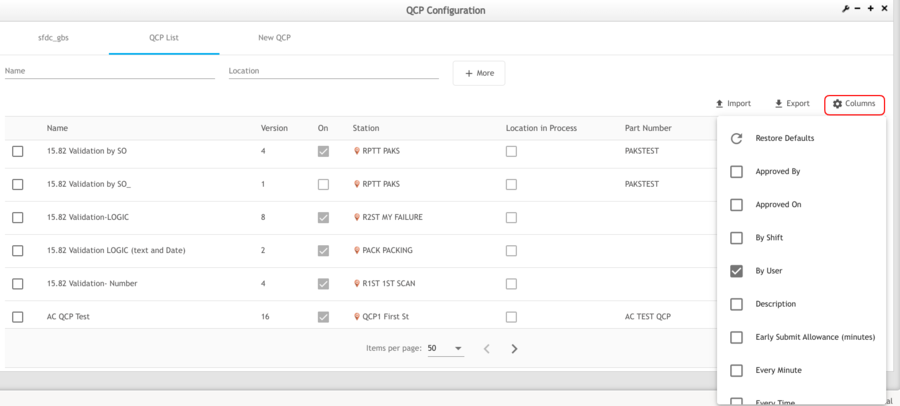
Columns
This option allows the user to filter the columns with the information that they want to see in the table, by selecting them to form the column list.
Figure 4: Columns
QCP List
The QCP List displays the state and configurations of the already created checklists; by using the Name field, the user can search for a specific checklist; this option also allows the user to modify the checklist, Edit, Copy, and Delete once the user selects the checkbox. ![]()
Figure 4: QCP List
The + More button allows the user to choose from a dropdown list for more specific search options such as Restore Defaults, Location, Part Number, Process, or the Approved checklists.
Figure 5: QCP +More Options
New QCP
To create a New QCP checklist for a specific location, select the New QCP option. Enter the QCP checklist Name followed by the Context and Frequency described below:
Figure 6: Create New QCP
Context
Once the user selects Context, a menu displays showing the available options: Station or Process.
Figure 7: Context
Station
Inside the Station, the administrator can select where the QCP checklist is available either by Station or Process.
Once Station is selected, the following options are available: Part Number and Part Number, these options allow the user to customize and optimize their checklist; the option By User, is shown at the end of the list, and it can be enabled only if the administrator wants the checklist to be displayed and answered by every user that uses that Station or Process; the QCP checklist will be displayed in the specific Station or Process when the user logs in the selected Station or Process.
Note: If the administrator selects the option By User, the QCP must be filled every time the checklist expires based on the frequency configured.
Process
If Process is selected instead of Station the option Location in Process will be enabled. This option allows the user to display the QCP (checklist) in ALL the Locations that belong to a specific Process.
Figure 8: Process: Location in Process
QCP Process LocationProcess.png
Frequency
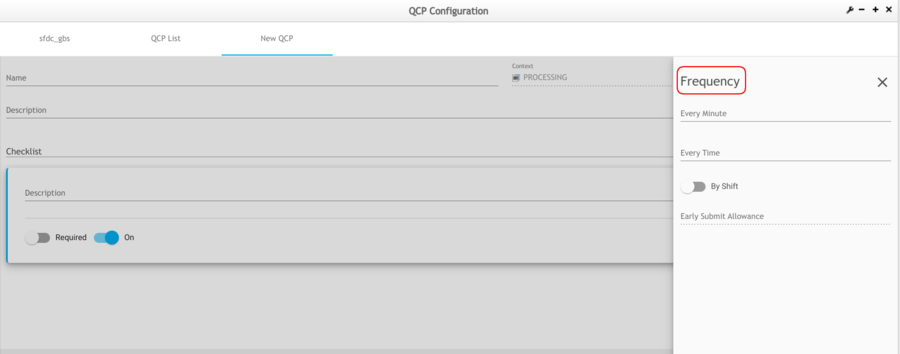
Frequency indicates the time and how often the administrator wants the checklist to be visible for the user, the Frequency can be adjusted according to the administrator's needs: Every Minute, Every Time, and By Shift.
Figure 9: Frequency
If the Frequency is set to Every Minute, the checklist will display every minute after the checklist is answered, if the user selects the option Every Time it is necessary to enter the exact hour, e.g. 7:00, 8:00, 9:00 and will be able to set more than one hour apart from the minutes.
Note: If both valuesEvery Minute and Every Time are configured, the checklist will be displayed when the next one expires (the closest).
If the user chooses the option By Shift, the established time will appear at the beginning of every shift that has been previously configured in the SFDC Configuration module. The Early Submit Allowance can only be enabled if the option By Shift is selected and this allows the user to set minutes previous to the established time so the user can have a time advantage.
Figure 10: Every Minute, Every Time, By Shift
QCP EveryMinuteEveryTimeByShift .png
Note: The three options Every Minute, Every Time, and By Shift can be selected at the same time or just one at a time.
Description
From the Description field, the user can generate and customize the QCP questions; the Type option allows to choose from three different types of data to set the questionnaire answers: Multiple Choices, Text or Number, the QCP checklist can also be set to be required, or to keep showing or not by choosing the option On.
Figure 11: Description and Type
Data Type
Multiple Choices allows the user to customize the questions by adding the necessary values to their questionnaire e.g Option 1 Option 2 Option 3.
Figure 12: Data Type: Multiple Choice
QCP DataType MultipleChoice.png
The user answering is able to see these options as checkboxes on the questionnaire, only if the option Allow Multiple is selected but if it’s not selected the options will show as radio buttons, which only allow the user to select one option at a time.
The Text option allows the administrator to leave the question answers open for the user to complete by writing.
Figure 13: Data Type: Text
Note: The options Edit and Delete are available for each type, located in the bottom right corner.
The Number option includes; Allows Decimals button, for the administrator to customize the checklist.
Figure 14: Data Type: Number
The user can add as many questions as required by clicking the  button, located in the bottom right corner, once the checklists are completed the user selects Save.
Figure 15: Add and Save
The QCP checklist also has a drag and drop functionality and arrows in each checklist section that allows it to move from question to question in the order that the administrator wants.
Figure 16: Drag and Drop
After saving the QCP, if the administrator wants this checklist to be displayed in the Production Workbench application, it needs to select the Approved option.
Note: This function is exclusive to Supervisors.
Supervisor Approval
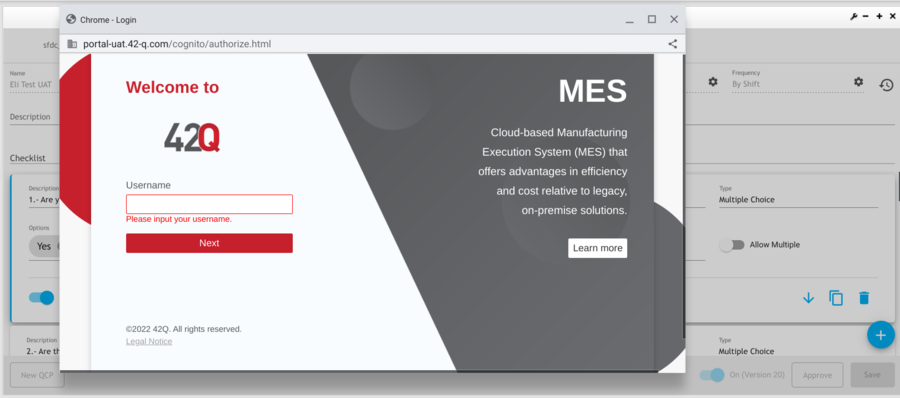
To approve or enable/ disable any QCP the supervisor needs to enable the site setting generic attribute force_different_user_approval.
- If it is disabled: no prompt authentication is needed
- If it is enabled: a Supervisor Authorization window will be prompted and a different user (Supervisor) needs to authorize it.
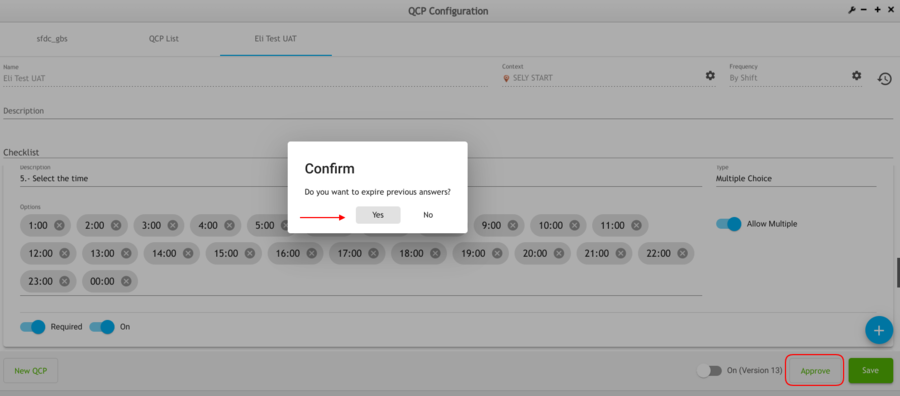
To approve, select the approval button at the bottom of the screen and confirm the action.
Figure 17: Confirm Approval
Note: If a non-supervisor user tries to approve the QCP, it will be redirected to the 42Q portal.
Figure 18: Supervisor Authentification
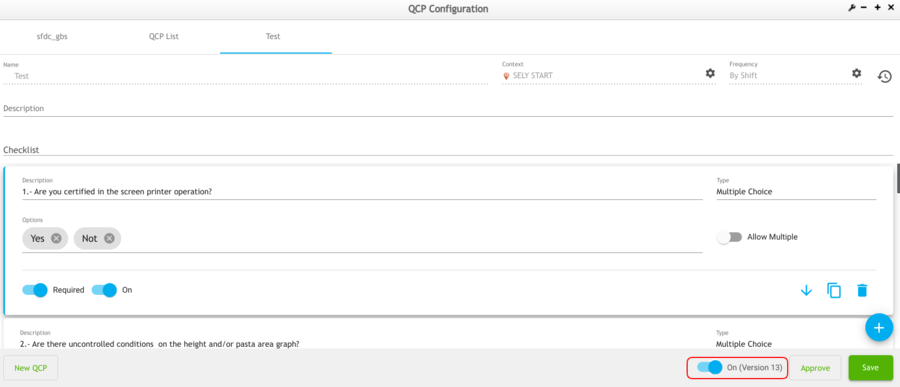
As soon as the Supervisor approval is completed, the option (On version 1) is visible and active in the bottom right corner of the page; this option can be deactivated only if the user doesn’t want the QCP checklist to be answered again.
Note: Approval is needed to deactivate this option.
Please refer to the Production Workbench documentation for more information.


